

Mounting choice affects installation cost, annual production, maintenance for the next twenty-five years, and whether you ever have to remove the array to replace a roof. For a DIY installer it also determines how much of the work happens at height — which is the single biggest safety factor in the whole project.
The three options side by side
| Roof mount | Ground mount | Pole mount | |
|---|---|---|---|
| Cost per watt (racking) | $0.15 – $0.30 | $0.30 – $0.60 | $0.40 – $0.80 |
| Needs land | No | Yes | Yes, a little |
| Roof penetrations | Yes | None | None |
| Optimal tilt achievable | Rarely | Yes | Yes, often adjustable |
| Cooling airflow | Limited | Good | Excellent |
| Snow clearing | Difficult | Easy | Easy |
| Work at height | All of it | Almost none | Some |
| Blocks roof replacement | Yes | No | No |
Roof mount: cheapest, and the one with a deadline
Roof mounting uses land you already have and the shortest wire runs, which is why the large majority of residential arrays use it. The racking is the cheapest of the three because the roof structure does the work.
The costs are less visible. Every attachment is a hole in your weather barrier, so flashing quality determines whether you have leaks in year three. Panels sit close to the deck with restricted airflow, running hotter and therefore slightly less efficiently than the same panels on a ground mount. Your tilt is whatever your roof pitch happens to be, and your orientation is whatever direction the plane faces. And the array's life is now coupled to the roof's: if the roof has under ten years left, replace it first, or you will pay to remove and reinstall the array mid-life.
Ground mount: more expensive, and better in almost every other way
If you have the land, a ground mount is the better engineering answer. You choose the tilt and the azimuth, so you can optimise for winter production if that is your constraint. Airflow underneath keeps panels cooler and slightly more productive. Snow clearing is done standing up with a snow rake. Maintenance and any future panel replacement happen at waist height rather than on a ladder.
Against that: racking and foundations cost roughly double, you need a trench and longer conductor runs back to the house, and it consumes usable yard. For a DIY installer, the safety advantage is substantial — almost none of the work happens at height, which removes the leading cause of serious injury in solar installation.
Pole mount: niche but sometimes exactly right
A single mast carrying an array of typically 4 to 12 panels, raised above ground level. It suits sites with deep snow, tall grass or livestock, and pole mounts are commonly available with adjustable or tracking tilt — which makes seasonal angle changes trivial, worth 10-25% in winter.
It is the most expensive per watt, needs a substantial concrete foundation, and does not scale to a large array. For a small off-grid system on rough land, particularly with a well pump or a cabin, it is often the practical choice.
Angle and orientation, briefly
South-facing is the benchmark in the northern hemisphere. East or west planes produce roughly 15-20% less; north-facing is generally not worth mounting on. For tilt, latitude is a reasonable year-round compromise, latitude minus 15° favours summer, and latitude plus 15° favours winter — and the steeper winter angle also sheds snow far better, which for off-grid systems often matters more than the angle itself. See why off-grid systems fail in January.
Choosing
- Roof — limited land, roof has 15+ years left, south-facing plane with little shade, budget is the constraint
- Ground — land available, winter production matters, you want to avoid roof penetrations, or you would rather not work at height
- Pole — small array, rough or wet terrain, deep snow, or you want adjustable seasonal tilt
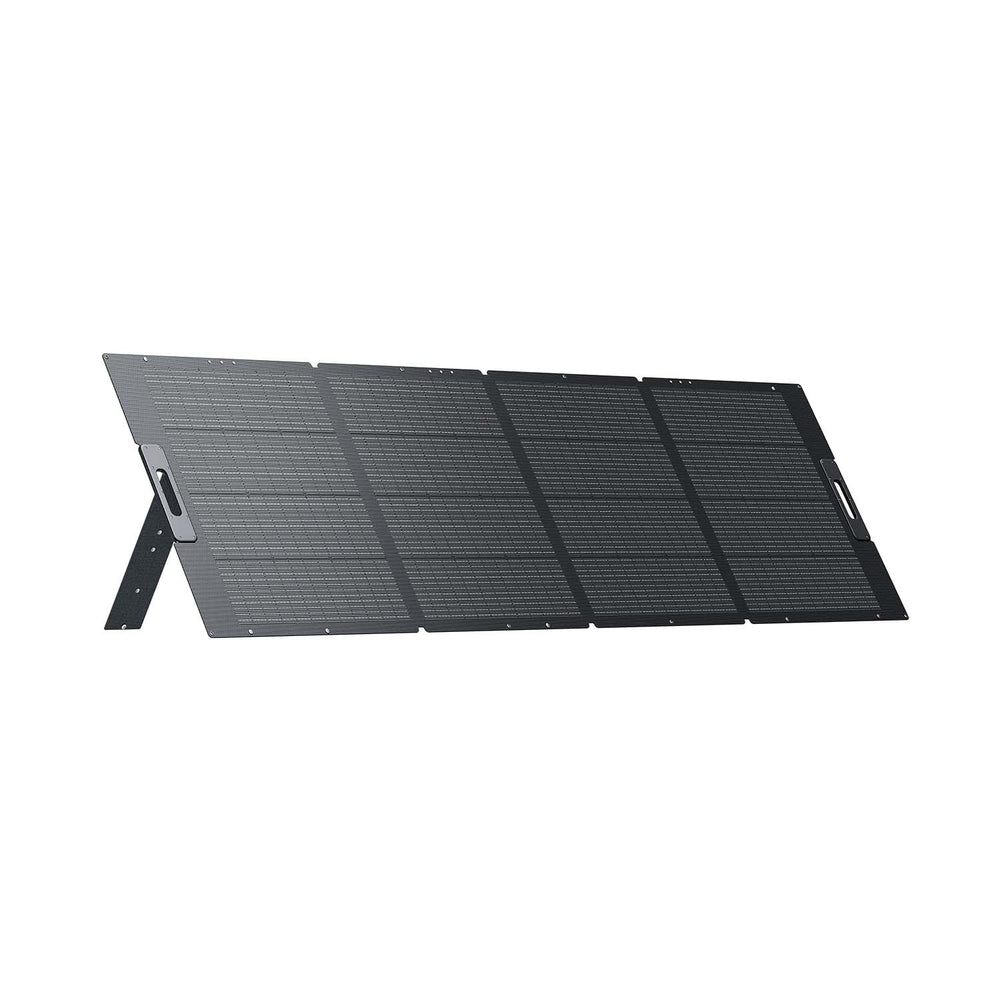
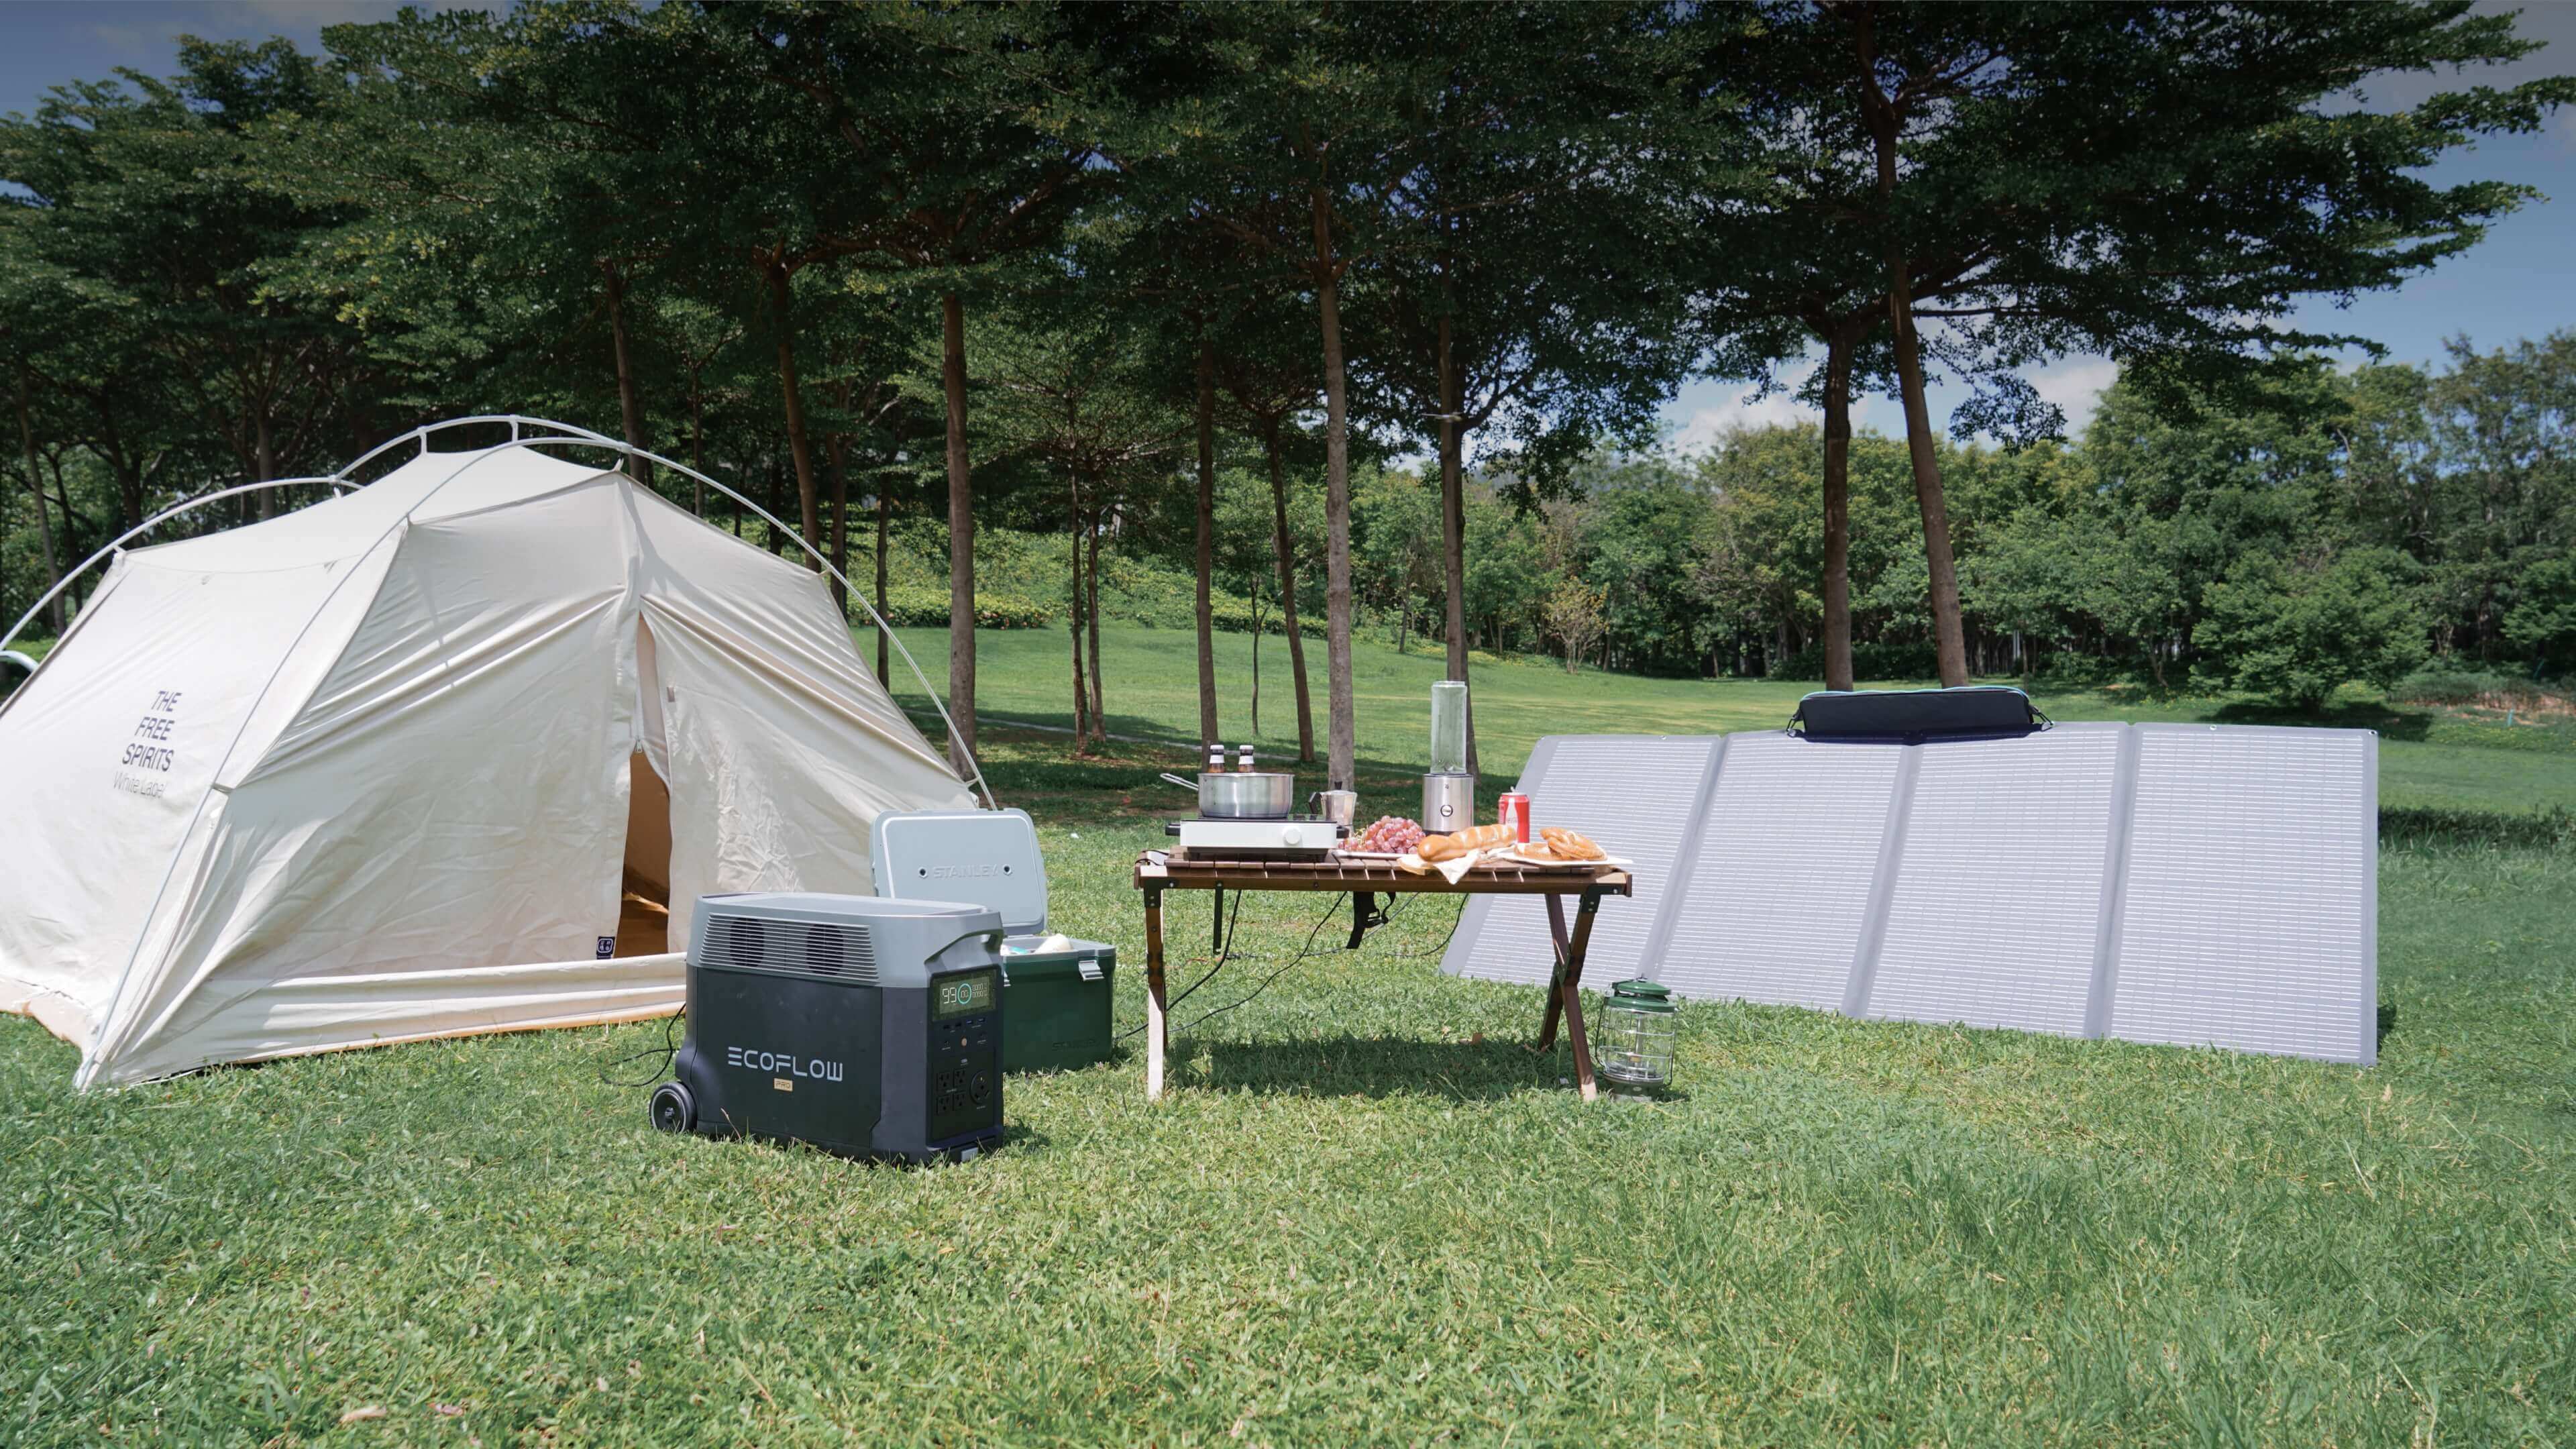
- Portable, no mount — a shed or occasional use, where deploying panels when needed beats a permanent structure
Once you have chosen, the step-by-step roof installation guide covers execution, including the flashing detail that determines whether roof mounting goes well or badly.