

A charge controller sits between your panels and your battery, and the two types do the job in fundamentally different ways. PWM connects them almost directly, dragging the panel down to battery voltage and wasting the difference. MPPT converts that excess voltage into extra current. The practical result is 20-30% more energy from the same panels.
Where the lost energy goes
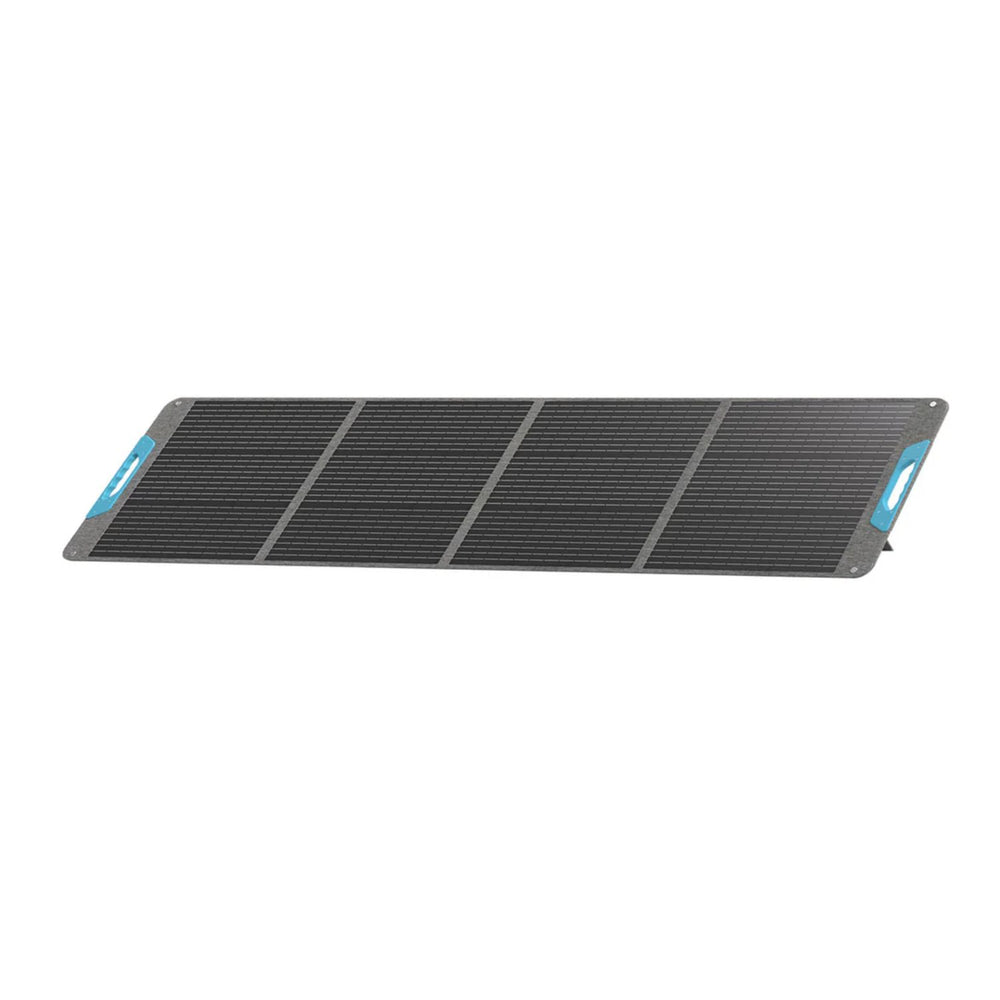
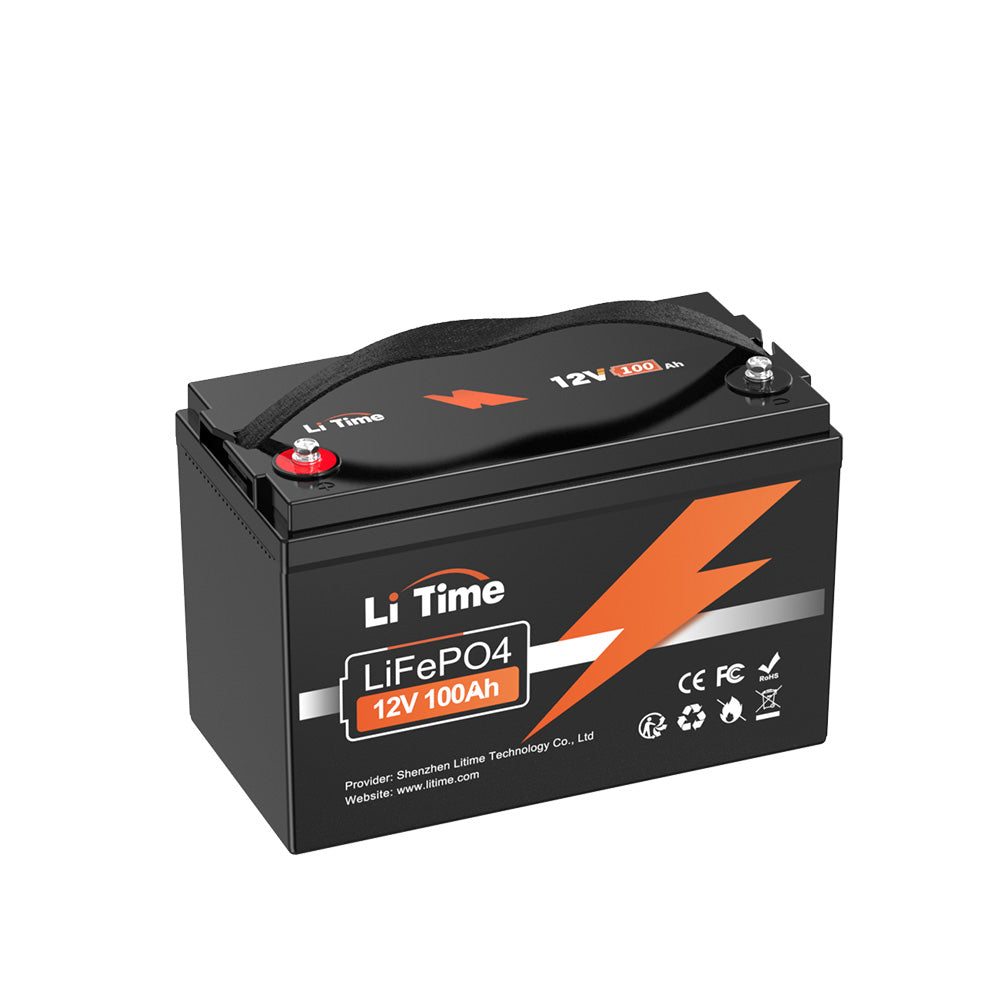
A nominally "12V" panel actually produces its maximum power at around 18V. A PWM controller connects the panel to a 12.8V battery and the panel is forced to operate at battery voltage — the current stays roughly the same, so the extra 5 volts of potential is simply discarded as unusable.
An MPPT controller is a DC-to-DC converter. It runs the panel at its optimal voltage, then converts the surplus voltage into additional current at the battery's voltage. Power is roughly conserved instead of clipped, which is where the 20-30% comes from.
| PWM | MPPT | |
|---|---|---|
| Typical harvest | 70 – 80% of available | 94 – 98% |
| Cost (30-40A) | $20 – $60 | $90 – $300 |
| Panel voltage flexibility | Must roughly match battery | Accepts much higher voltage |
| Cable cost | Higher — more current | Lower — higher voltage, thinner wire |
| Cold weather | Poor | Better — exploits the voltage rise |
| Cloudy conditions | Poor | Better |
| Best for | Small 12V systems under ~200W | Almost everything else |
The wiring advantage people overlook
Because MPPT accepts panel voltages well above battery voltage, you can wire panels in series rather than parallel. Higher voltage means lower current for the same power, and lower current means thinner, cheaper wire and smaller losses over the run.
On a ground mount 60 feet from the battery bank, this alone can save more in copper than the controller cost — which is why the MPPT premium often disappears entirely once you price the whole installation rather than just the controller. See sizing solar cabling for the arithmetic.
Sizing a controller correctly
Two limits, and you must respect both:
- Current rating. Must exceed your array's output amps with headroom — the usual convention is array amps × 1.25.
- Input voltage window. Must accept your string's open-circuit voltage at your coldest expected temperature. Panel voltage rises as it gets colder, and exceeding the controller's maximum on a cold clear morning destroys it.
That second one is the most common way people kill a controller, and it is the same failure that kills inverters. Calculate against your record low, not your average winter.
When PWM is still the right call
- Small 12V systems under about 200W — a trickle charger, a gate opener, a small shed light circuit
- Where the panel voltage genuinely matches the battery, so there is little surplus for MPPT to convert
- Where the controller cost is a large share of a tiny budget and the harvest difference is a few watt-hours a day
Above roughly 200W, MPPT wins on payback within a season or two. On anything property-scale it is not really a decision.
For the panel-to-battery sizing that determines what controller you need, see how many watts of solar to charge a 100Ah battery, and the controller role page for your target amperage.