

Van solar splits into two genuinely different approaches, and mixing up which one you're planning for is the most common source of confusion for first-time builders. Here's the difference, and how to pick.
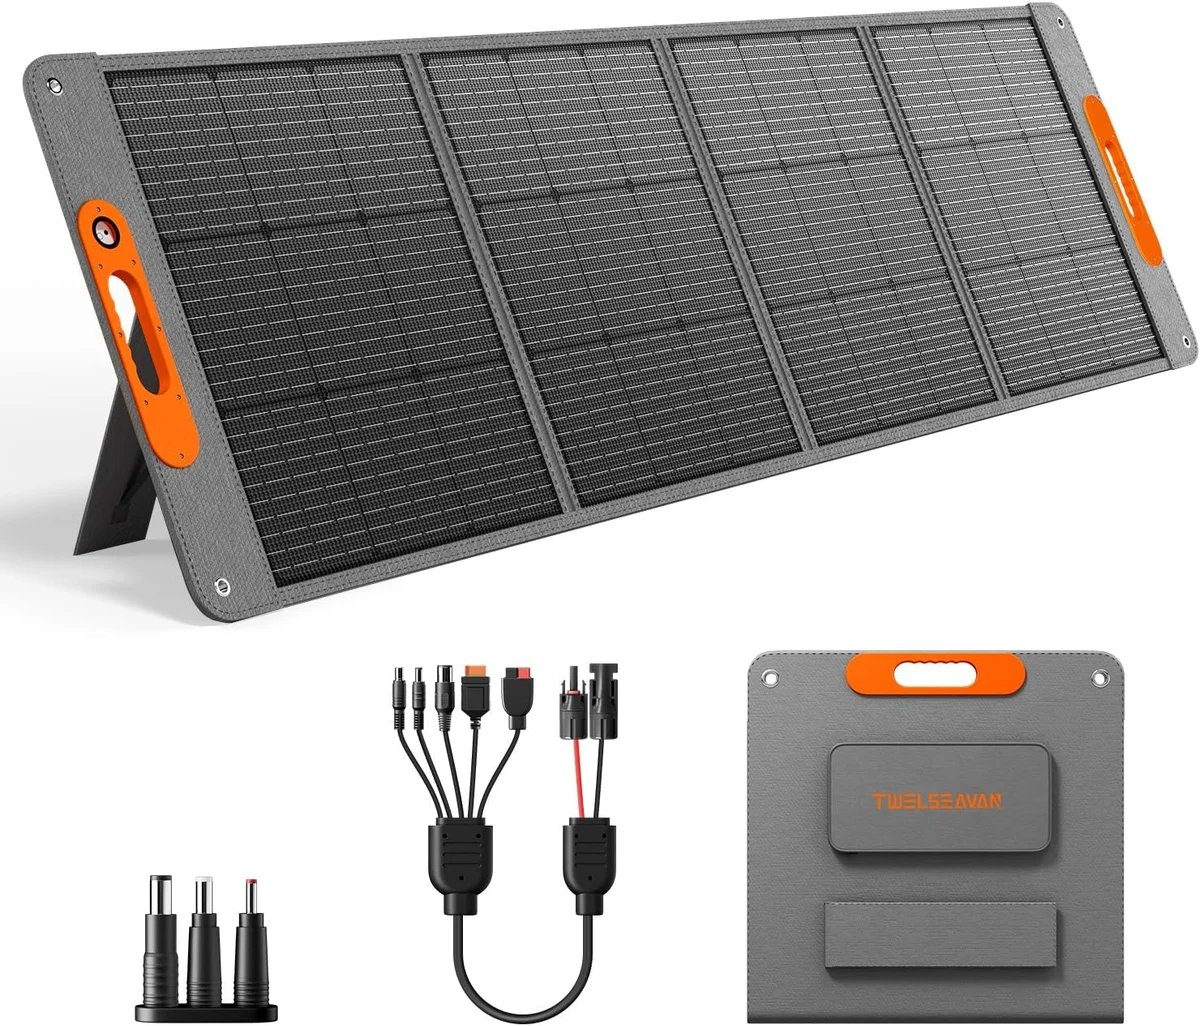
Path 1: Portable panels + power station
A folding solar panel plugged into a portable power station — no roof penetrations, no wiring into the van's electrical system, and it moves with you if you're not always parked in the sun. This is the faster, lower-cost, fully reversible option, and the right starting point for anyone not yet committed to a permanent conversion.
- Size your power station to your daily use with our free wattage calculator.
- Choose a folding panel (commonly 100-200W) sized against your daily solar input need — see our solar charging math guide.
- Set up the panel facing the sun each time you park, angled where possible for meaningfully better output than laying it flat.
Path 2: Hardwired rooftop system
Panels mounted permanently to the roof, wired through a charge controller into a house battery bank and inverter — this is a real installation project (or a paid one), but it charges automatically while driving or parked, with no daily setup and no panel to store or forget.
- Size the battery bank and panel wattage using the same method as our off-grid solar sizing guide.
- Mount panels to the roof and run wiring to a charge controller, sized to the panel array's output.
- Connect the charge controller to the house battery bank, and the battery bank to an inverter for AC power.
Which path fits your build
| Portable | Hardwired | |
|---|---|---|
| Setup effort | None — plug and play | Real installation project |
| Charges while driving | Only via 12V/DC-DC separately | Yes, continuously |
| Reversible / rental-friendly | Yes | No — permanent modification |
| Best for | Weekend trips, first-time builds, rentals | Full-time van life, long-term builds |